PocketScroller v2
Six HUB75 outputs for LED panel matrices, on a small board that works with either PocketBeagle.
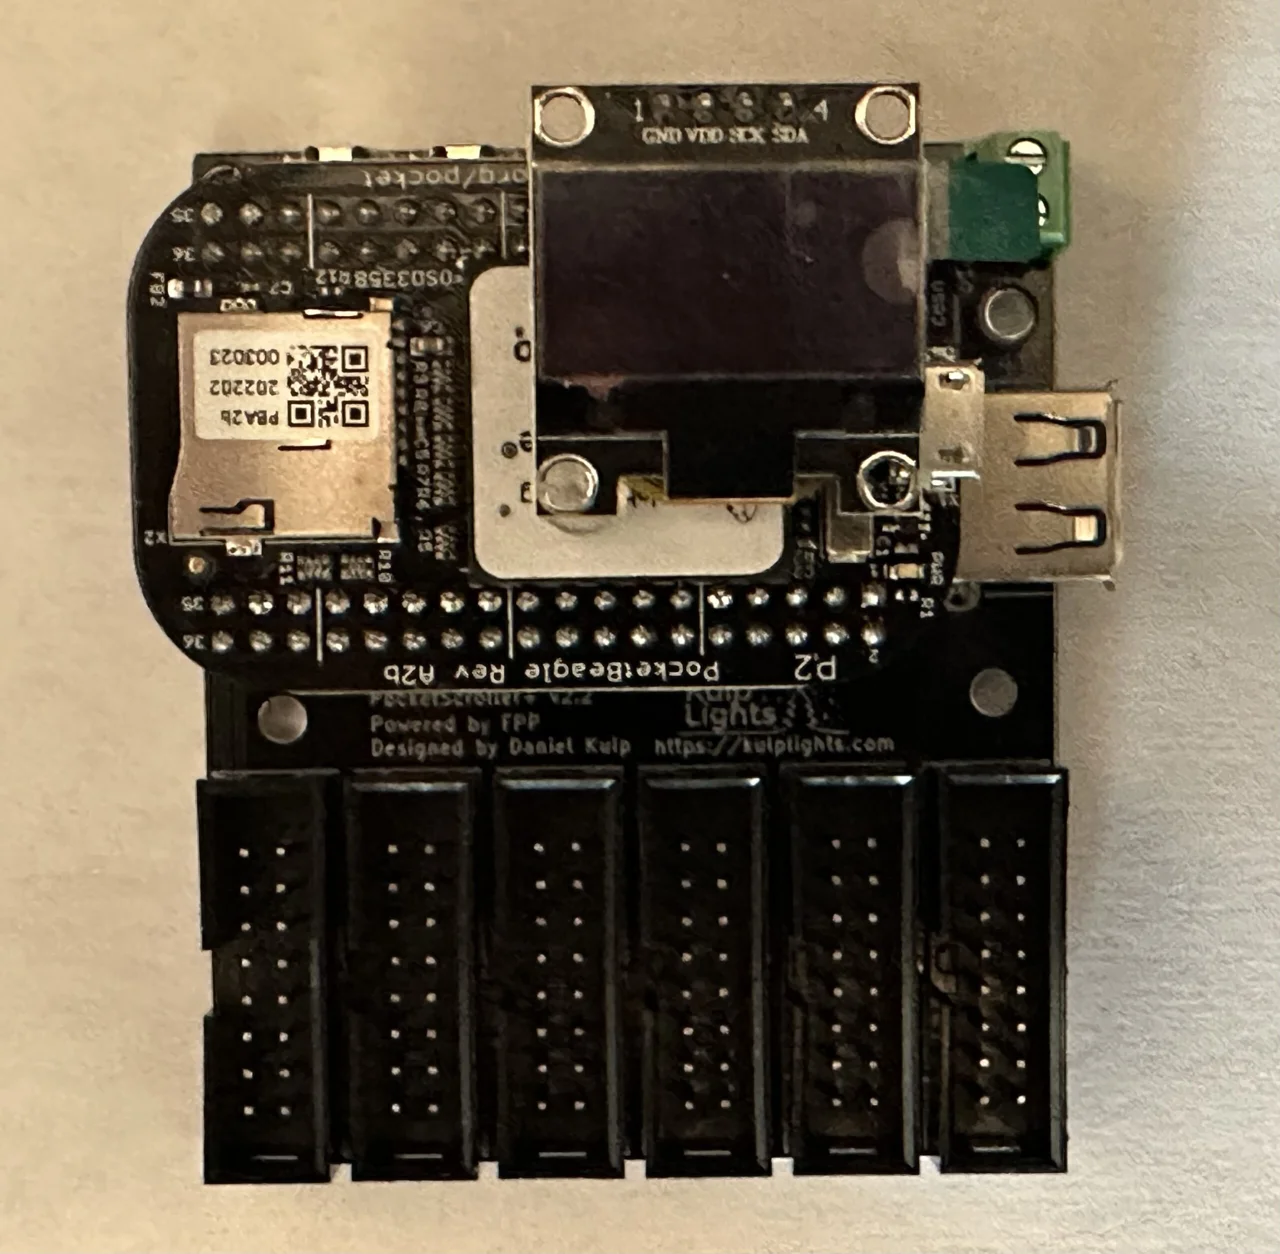
PocketScroller v2 (v2.2) shown with an original PocketBeagle (PocketBeagle 1) fitted.
This page covers the PocketScroller v2, printed on the board as PocketScroller+ v2.x (the current
revision is v2.3). Like the K4-PB and K40D-PB, it works with both the PocketBeagle 2 and the original
PocketBeagle 1.
How the PocketScroller v2 differs from the other boards
- No Ethernet on the board. Plug a USB Ethernet adapter or an FPP-supported USB Wi-Fi adapter into its USB-A port. You need one of them to set it up.
- The USB-A port covers the PocketBeagle 2's SD card slot. To change the SD card you have to unplug the PocketBeagle 2. Either use a PocketBeagle 2 Industrial, which runs FPP from its built-in eMMC (recommended), or fit the PB2 microSD extender, which clears the USB port.
- The OLED shares pins with output 6. If you use all six outputs, the OLED shows information while the board boots and then turns off once FPP starts. Leave output 6 free if you can.
- No real-time clock. The board gets the time from the network (NTP).
- 5 V only, like the other PocketScrollers.
PocketBeagle 1: never connect its USB port to a computer
With an original PocketBeagle 1 fitted, don't power or set up the PocketScroller v2 through the PocketBeagle's own USB port (USB tethering). It can permanently damage the board. With a PocketBeagle 2, USB tethering is safe.
Specifications
| PocketScroller v2 | |
|---|---|
| Panel outputs | 6 × HUB75 (2×8 shrouded header), no E line |
| Panel types | 1/4, 1/8 and 1/16 scan (for example P10 1/4 or 1/8, P5 1/8 or 1/16). Not 1/32 scan. |
| Capacity | see Capacity & refresh rate |
| Signal level | 3.3 V data from the PocketBeagle; control lines buffered to 5 V |
| Power input | 5 V DC only, 2-pin 3.5 mm screw terminal |
| Panel power | not supplied. Panels need their own 5 V supply. |
| Ethernet | none. Use a USB Ethernet or Wi-Fi adapter. |
| USB-A | 1 |
| Display & buttons | 128×64 OLED (off when output 6 is in use), Down-Test / Enter |
| Real-time clock | none |
| Temperature sensor | yes |
| Expansion header | none |
| Size | 60.96 × 72.52 mm (2.40 × 2.86 in), 5 mounting holes, 3.0 mm |
| Requires | PocketBeagle 2 (FPP 9.5 or later, FPP 10 or later strongly recommended) or PocketBeagle 1 |
Board map
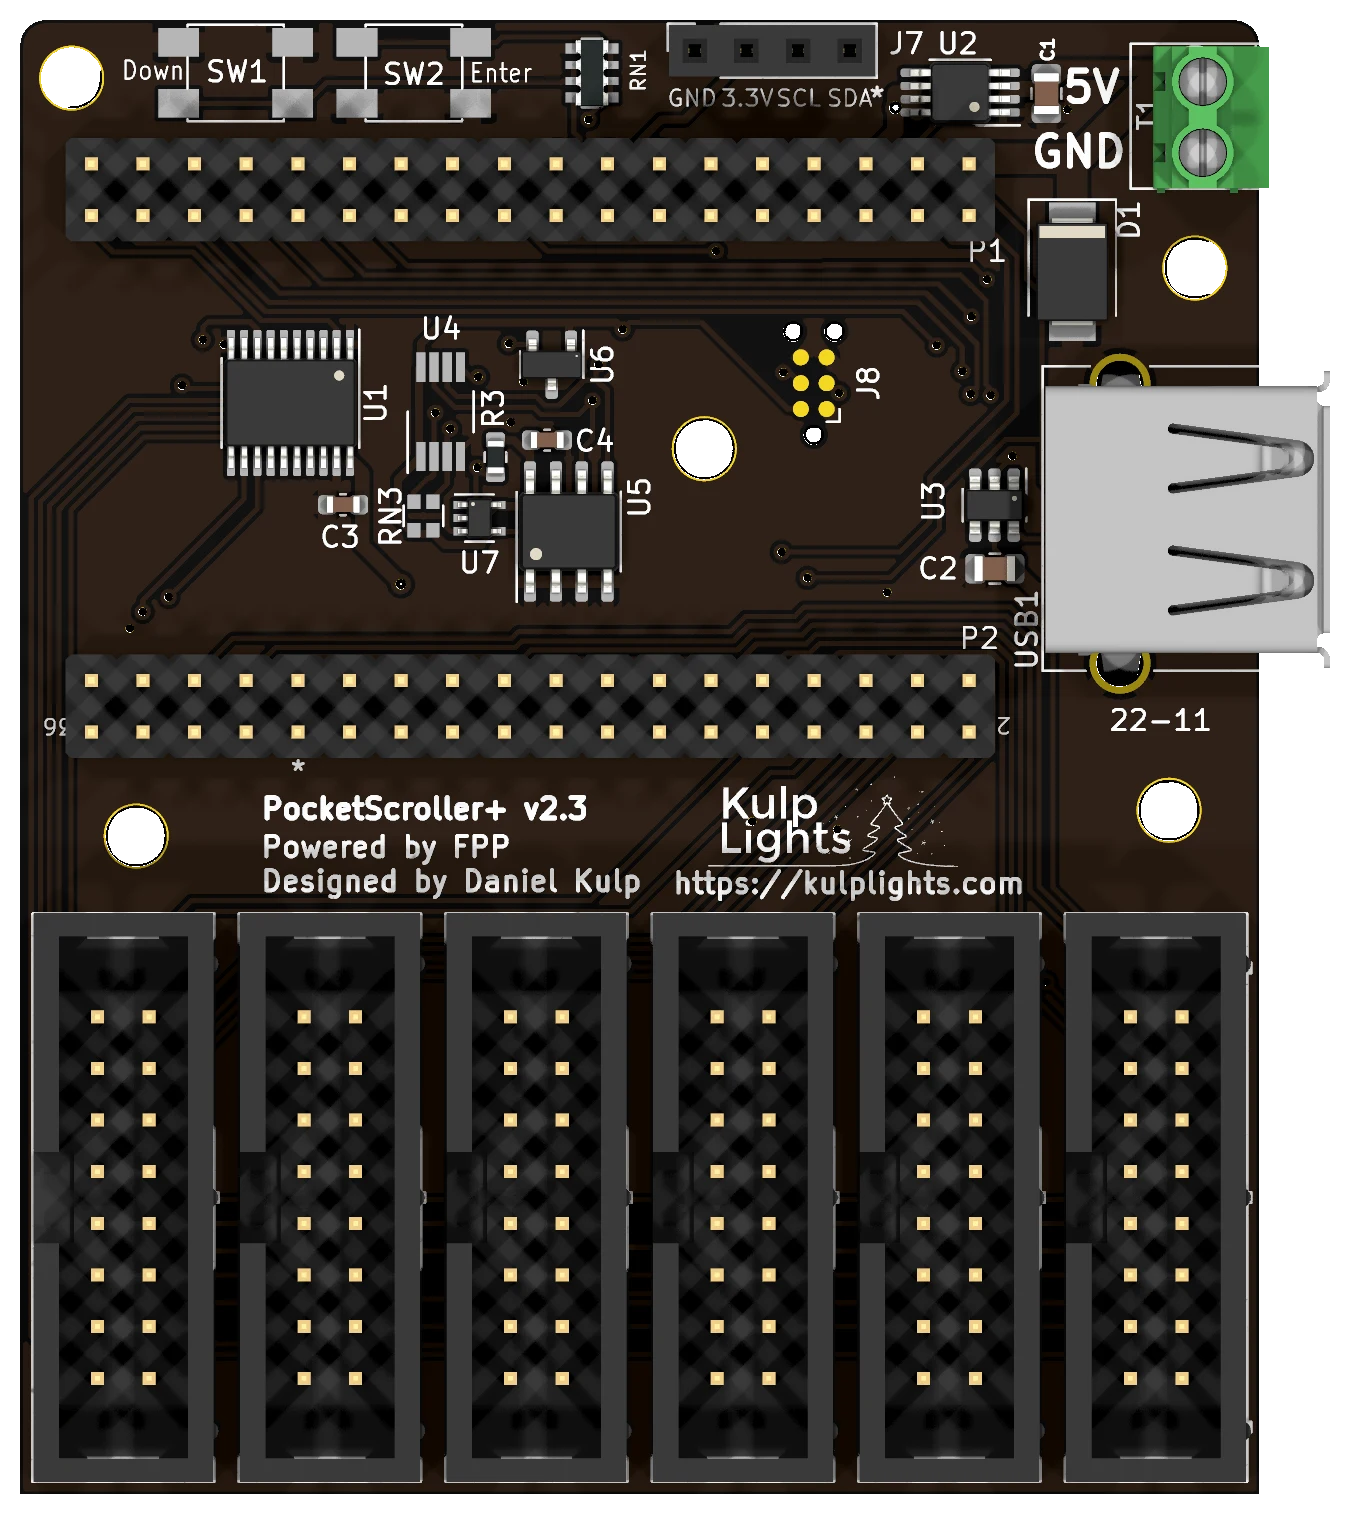
Power
5 V only
The PocketScroller v2 has no voltage regulator. Connect a regulated 5 V supply to the terminal at the top right, marked 5V (upper screw) and GND (lower screw). A 12 V or 24 V supply will damage the board and the PocketBeagle.
- The terminal powers the PocketBeagle, the output buffer and the USB port. The board itself draws very little.
- The panels are not powered through the PocketScroller. Run each panel's power from your 5 V panel supply. You can feed the PocketScroller from the same supply.
- There are no power LEDs. When the board is running, the OLED shows status (as long as output 6 is free).
Panel outputs
The six HUB75 outputs are along the bottom edge, Output 1 on the left to Output 6 on the right. They aren't numbered on the board. Connect each chain of panels with a 16-pin ribbon cable to the panel's input connector.
Output 6 and the OLED
The OLED's I²C lines share pins with output 6. While output 6 is unused, FPP keeps the OLED running. When you configure panels on output 6, FPP takes the pins for the panels and the OLED goes dark after boot. If you need fewer than six outputs, use outputs 1–5.
Set the panels up in FPP under Input/Output Setup → Channel Outputs → LED Panels. See LED panel matrices in the FPP manual.
Buttons and OLED
The two buttons at the top left are marked Down (left) and Enter (right). The left button is also Test: on the status page it starts and cycles the test patterns; in menus it moves down. See Controls & display.
The OLED plugs into the 4-pin socket marked GND 3.3V SCL SDA.
Other connectors
| Connector | Details |
|---|---|
| USB-A | 1 port, for the network adapter. It sits over the PocketBeagle 2's SD card slot; the PB2 microSD extender clears it. USB |
| PocketBeagle | sockets P1 (upper) and P2 (lower). See PocketBeagle 2. |
Capacity & refresh rate
How many panels you can run depends on how long each chain is and on the colour depth. The tables give the full-frame refresh rate in Hz for 64×32, 1/16-scan panels at FPP's default brightness (10), with all six outputs in use. Bold values are 60 Hz or more. Italic values are under 60 Hz, where flicker starts to show on camera and to some viewers.
| Panels per output | Total panels | 12-bit | 10-bit | 8-bit |
|---|---|---|---|---|
| 1 | 6 | 112 | 134 | 202 |
| 2 | 12 | 72 | 86 | 118 |
| 3 | 18 | 51 | 62 | 80 |
| 4 | 24 | 40 | 48 | 60 |
| 5 | 30 | 32 | 39 | 48 |
| 6 | 36 | 27 | 32 | 40 |
| 8 | 48 | 20 | 24 | 30 |
| 10 | 60 | 16 | 19 | 24 |
| 12 | 72 | 14 | 16 | 20 |
| 16 | 96 | 10 | 12 | 15 |
Rule of thumb at 60 Hz: up to 2 panels per output at 12-bit colour (12 panels), or 4 per output at 8-bit (24 panels).
| Panels per output | Total panels | 12-bit | 10-bit | 8-bit |
|---|---|---|---|---|
| 1 | 6 | 114 | 135 | 220 |
| 2 | 12 | 82 | 98 | 145 |
| 3 | 18 | 63 | 76 | 106 |
| 4 | 24 | 50 | 61 | 79 |
| 5 | 30 | 42 | 50 | 64 |
| 6 | 36 | 36 | 43 | 53 |
| 8 | 48 | 27 | 32 | 40 |
| 10 | 60 | 22 | 26 | 32 |
| 12 | 72 | 18 | 22 | 27 |
| 16 | 96 | 14 | 16 | 20 |
Rule of thumb at 60 Hz: up to 3 panels per output at 12-bit colour (18 panels), or 5 per output at 8-bit (30 panels).
- These are measured, worst-case figures, with random pixel data on every panel. Flat colours and large solid areas refresh faster, by up to about 40 %.
- The PocketBeagle 1 is faster on longer chains. Past 2 panels per output the PocketScroller v2 runs about 25 % slower on a PocketBeagle 2. If you need the most panels at a high refresh rate, the PocketScroller v3 or PocketScroller-16 is a better fit on a PocketBeagle 2.
- Number of outputs: on a PocketBeagle 2, one output refreshes at the same rate as all six, so spread the panels evenly. On a PocketBeagle 1, a single output is 25–35 % faster than six, and from three outputs up the rate doesn't change.
- 1/8-scan outdoor panels refresh at the same rate or a little faster than these 1/16-scan figures. The gain is largest on short chains and fades to nothing by about 8 panels per output.
- Lowering colour depth is the easiest way to win back refresh. Unlike the v3 and -16, lowering the brightness setting makes the PocketScroller v2 slightly slower, because it adds off-time.
FPP setup
When FPP detects the PocketScroller v2 it offers the PocketScroller wiring for LED panels. Add an LED Panels output and your panel layout under Input/Output Setup → Channel Outputs → LED Panels.
For the first setup, plug a USB Ethernet adapter into the USB-A port and connect it to your network, or use a USB Wi-Fi adapter and FPP's Wi-Fi hotspot. Because the board has no clock, set up NTP under Settings → Time so schedules run at the right time.
Dimensions & mounting
- 60.96 × 72.52 mm (2.40 × 2.86 in), 5 plated mounting holes, 3.0 mm, for M2.5 (or #4) screws and standoffs.
- Use nylon or metal standoffs at least 6 mm (¼ in) tall, so nothing on the underside touches the enclosure.